

Your site needs two things: tufu's script, once per page, and the element for the support chat or the Ask console where you want it.
On WordPress, the tufu AI plugin does this for you: see Install on WordPress.
Before you start#
- The bot must be public (Bots → Edit → Public). Private bots only work for your team.
- You need your team and bot IDs. The bot's Preview page shows these snippets with both filled in, ready
to copy. Below, they're
your-teamandyour-bot.
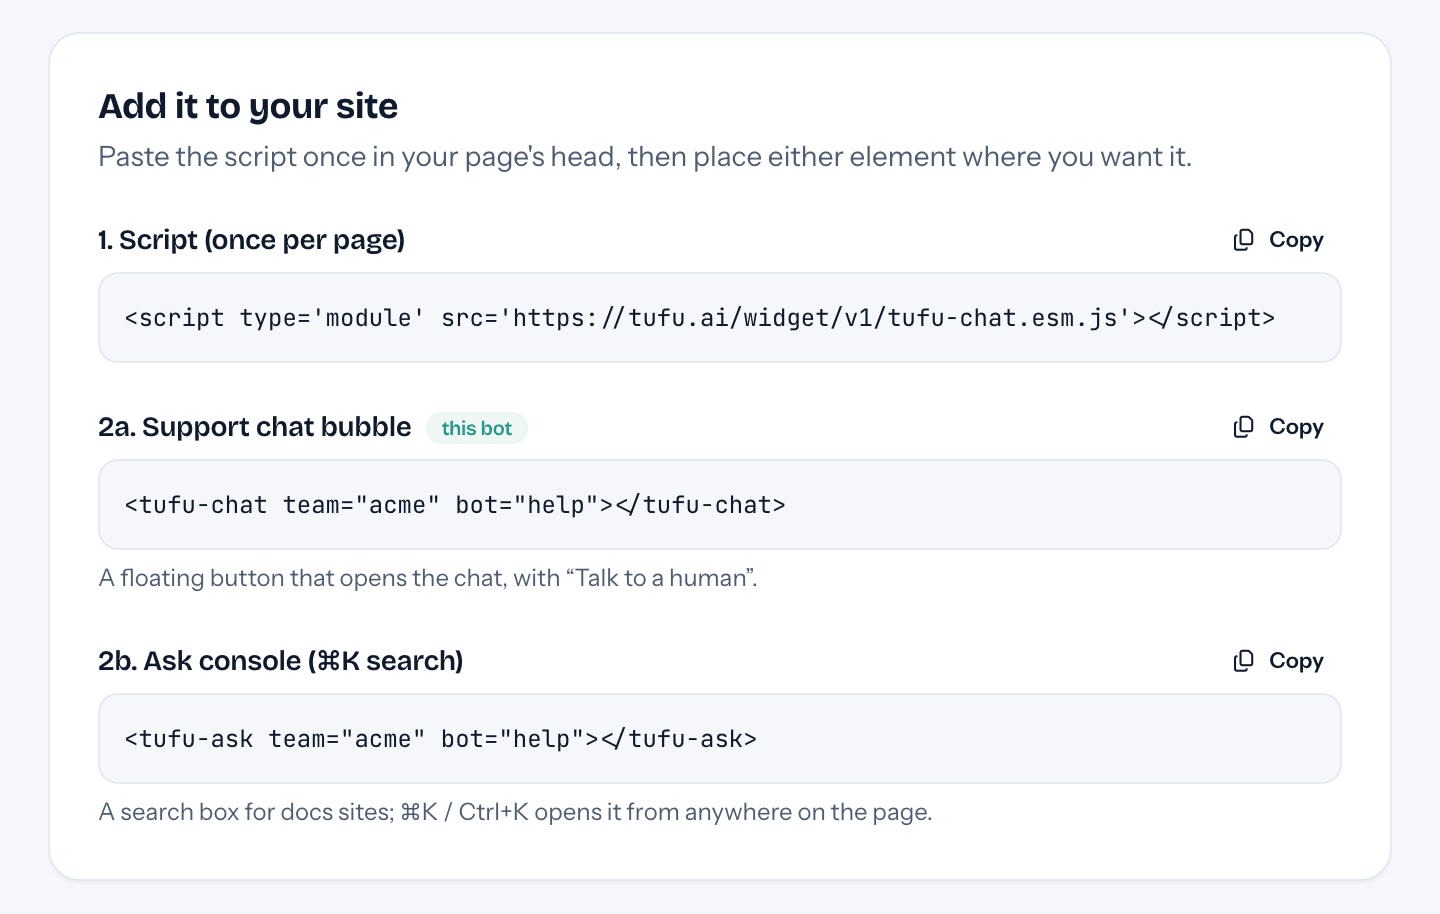
1. Add the script#
Paste this once in your site's <head>, on every page that shows tufu:
<script type='module' src='https://tufu.ai/widget/v1/tufu-chat.esm.js'></script>One script covers both the support chat and the Ask console. Most site builders have a box for "custom code in the head" or "header scripts"; that's where it goes.
2. Add the support chat or the Ask console#
For the support chat, a chat bubble in the corner of the page, add this anywhere in <body>:
<tufu-chat team="your-team" bot="your-bot"></tufu-chat>For the Ask console, a search box for your docs, put this where the box belongs, typically in your docs header:
<tufu-ask team="your-team" bot="your-bot"></tufu-ask>You can use both on the same page, with the same bot or two different ones.
3. Check it#
Open your site. The chat bubble should show in the bottom-right corner, or the search box where you placed it. Ask it something. Conversations from your site show up in your Inbox under Live.
If nothing shows, see Troubleshooting.
Next#
- Customizing the support chat: button text, position, colors.
- Customizing the Ask console: placeholder, shortcut, colors.
- Where your bot appears: lock the bot to your websites and choose its pages.